Seller guide
How to Photograph Furniture for an Online Store
Shoppers cannot sit on a sofa or check a table finish before they buy, so the photos carry the sale. Good furniture photos are clean, sharp and show the piece from every side that matters. You do not need a big studio. Clean the piece, use soft light and a plain backdrop, and shoot the same set of angles and close-ups for every item.
Updated 13 October 2026
The short answer
- Clean and polish the piece first, and clear clutter out of the frame.
- Shoot in soft, even light, near a window or outside on an overcast day, and avoid harsh midday sun.
- Shoot from a slightly raised, angled view so the front and one side show together, not a flat straight-on shot.
- Use the same shot list for every piece: the front, back, sides, underside, and close-ups of joints, hardware and fabric.
- Show scratches, stains and wear clearly. Honest photos help avoid disputes.
Prepare the piece and the space
Dust settles in joints, under cushions and in the grain, so clean every surface before you shoot. Clear the area too, because anything in the frame pulls the eye away from the piece. Leave enough room to step back so the whole piece fits in the frame.
Light it softly
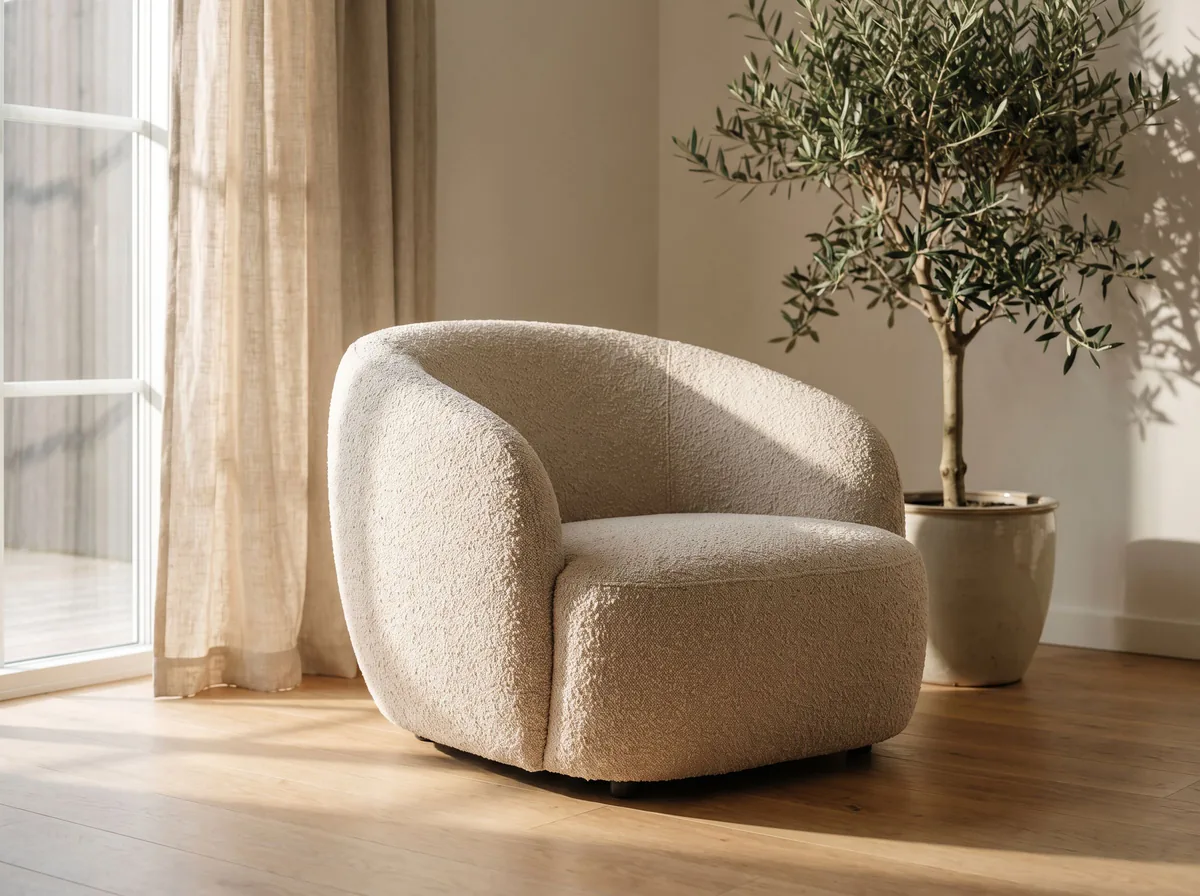
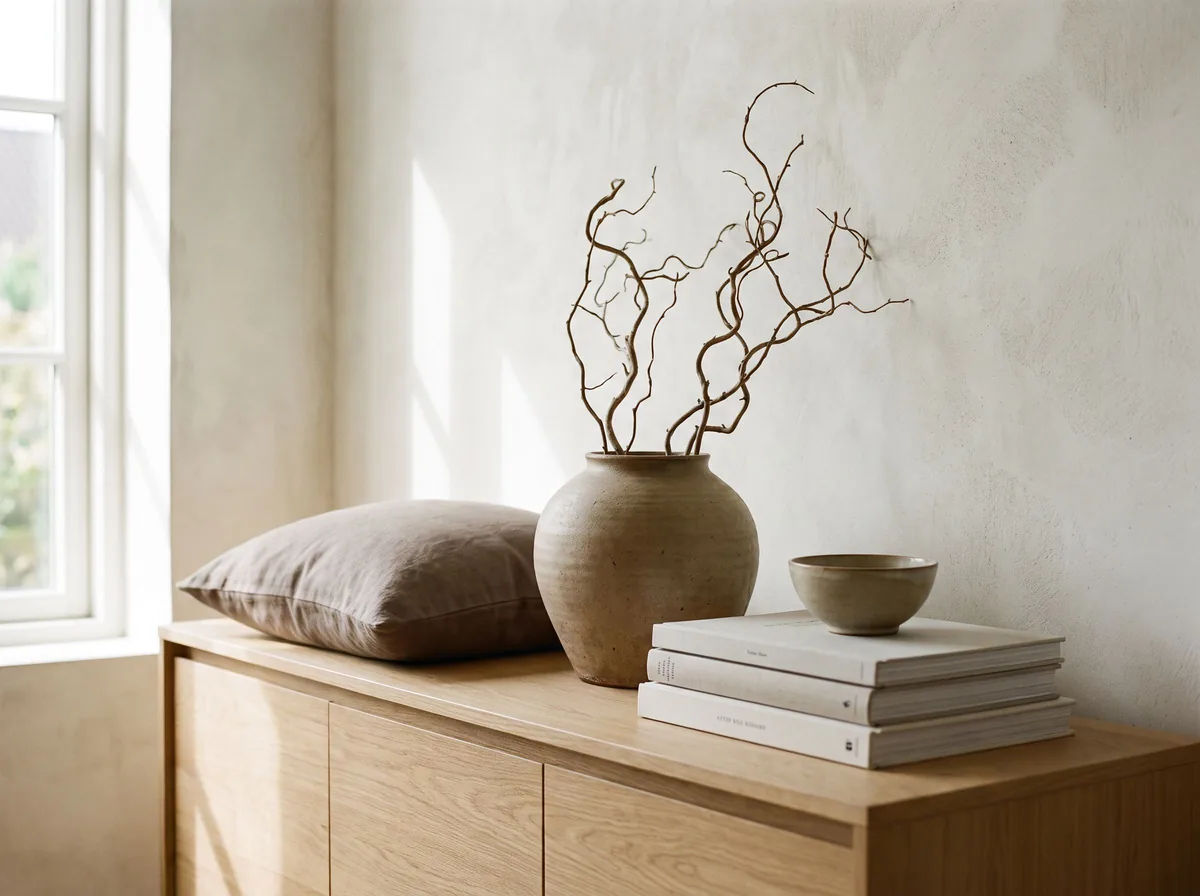
Soft, even light shows the true color and the texture of fabric and wood without deep shadows. Natural light from a large window, or an overcast day outside, does this well. Soften harsh sun with a sheet or white paper, and use a reflector to lift the shadowed side. Turn off the flash.
Choose the angle
A straight-on shot flattens a piece and hides its depth. Shoot from slightly above and to one side, so the front and one side show together. Keep the camera level so the lines of the piece stay straight. For a large piece, use the longest focal length you have, or zoom optically rather than digitally, to reduce distortion.
Shoot the same set for every piece
- A hero shot of the full piece on a plain, neutral backdrop. This is the main image.
- The back, underside and sides, so buyers see every face of the piece.
- Close-ups of joints, hardware, fabric, stitching and the grain or finish.
- A room shot that shows how the piece fits a space and how big it is, with one or two small props placed away from it.
- Condition shots of any scratch, dent, stain or wear, close up.
Be clear about condition
For used or vintage furniture, photograph the damage instead of hiding it. A close-up of a scratch or stain tells the buyer what to expect, which avoids disputes after delivery. Mention the condition in the listing text too.
Edit lightly
Straighten the frame, correct the white balance so the color matches the real piece, and remove dust or stray marks. A cleaner background is fine, but do not change the shape, color or finish of the piece.
Free tools for this
Try it on your own photo
FAQ
Questions sellers ask
Do I need a studio to photograph furniture?
No. A clean room with a window, soft light and a plain wall or sheet is enough for most pieces.
What angle is best for furniture photos?
A slightly raised angle from one corner, so the front and one side show together. A straight-on view flattens the piece.
Should I use a room scene for furniture?
Yes, as one of the shots. A room scene helps buyers see the size and style. Keep the main image a plain, clear view of the piece.
How do I photograph used furniture to sell it?
Clean the piece, shoot the full piece from several angles, and photograph any damage or wear close up.
Sources
- Pixc: how to photograph furniture for your ecommerce store
- Morphic: how to photograph furniture for ecommerce
- Cherrydeck: furniture photos for an ecommerce store
- Photoroom: furniture product photography
- This Old House: photography tips to sell used furniture online
Z Product AI makes some of the tools compared here. Competitor details come from their own sites and public reviews as of 13 October 2026.